使用Let's Encrypt实现apache或nginx的https访问
WoodyXiong
3月 20, 2018

为了研究https底层的数据包,本少可是煞费苦心,为自己的小站上https。Let’s Encrypt是一个面向全球免费发行SSL证书的网站,自从Let’s Encrypt的免费,各大云服务商也有了免费的SSL证书服务。有必要说的是,国内申请的免费SSL证书必须备案。
网上的Let’s Encrypt教程参差不齐,而且每个教程还完全不一样,容易遇到坑,于是就按照官方网站提供的配置。
进入官网的配置教程
官网有两种配置的模式,一种是有shell的权限,另一种是没有shell权限。
我们这里有shell权限,官方推荐使用certbot工具certbot工具官网
进入certbot
进入之后我们可以选择服务器是apache/nginx/等主流服务器,然后选择操作系统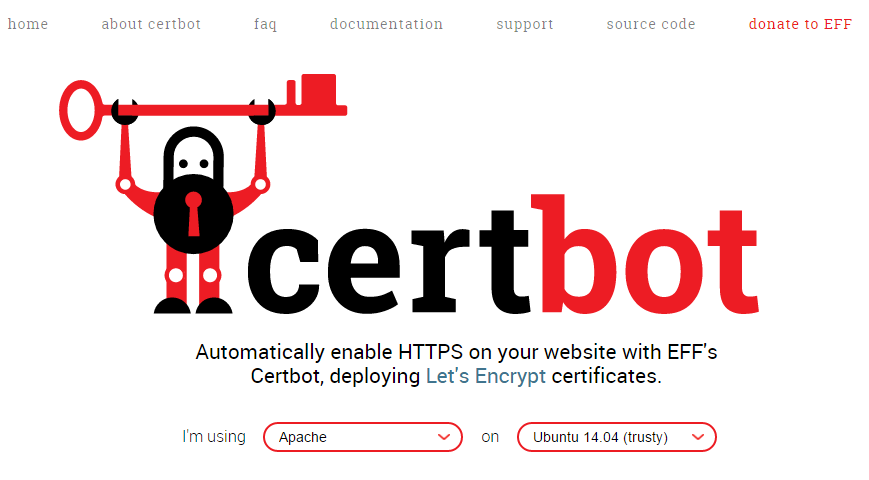
根据certbot进行配置
以下就是根据官网进行傻瓜式配置了
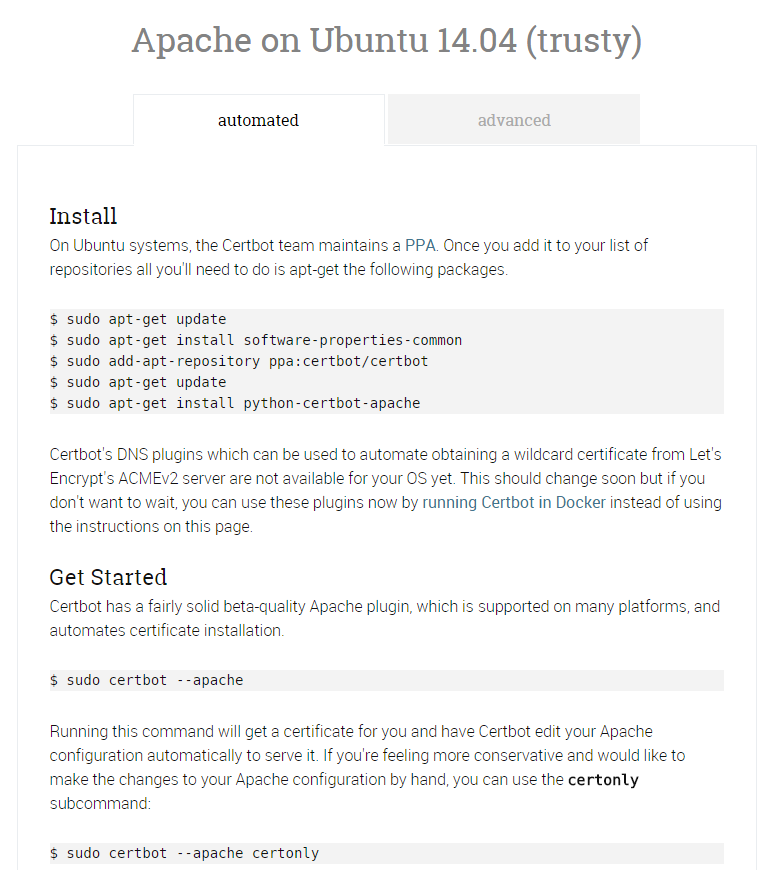
自动配置的话就运行以下代码即可
sudo certbot --apache
安装证书的时候会询问需要为哪个网站配置证书,我们输入序号选择即可。在这一步中域名和IP必须对应才能继续执行。
Which names would you like to activate HTTPS for?
-------------------------------------------------------------------------------
1: www.gfkui.cn
2: www.smarteye.tech
-------------------------------------------------------------------------------
Select the appropriate numbers separated by commas and/or spaces, or leave input
blank to select all options shown (Enter 'c' to cancel): 1
下一步会询问你是否是全站https,这样会apache会将80端口的http全部重定向到443端口的https。
Please choose whether or not to redirect HTTP traffic to HTTPS, removing HTTP access.
-------------------------------------------------------------------------------
1: No redirect - Make no further changes to the webserver configuration.
2: Redirect - Make all requests redirect to secure HTTPS access. Choose this for
new sites, or if you're confident your site works on HTTPS. You can undo this
change by editing your web server's configuration.
-------------------------------------------------------------------------------
Select the appropriate number [1-2] then [enter] (press 'c' to cancel): 2
最后看到以下的Congratulations即为操作成功
-------------------------------------------------------------------------------
Congratulations! You have successfully enabled https://www.gfkui.cn

You should test your configuration at:
https://www.ssllabs.com/ssltest/analyze.html?d=www.gfkui.cn
-------------------------------------------------------------------------------

IMPORTANT NOTES:
 - Congratulations! Your certificate and chain have been saved at:
   /etc/letsencrypt/live/www.gfkui.cn/fullchain.pem
   Your key file has been saved at:
   /etc/letsencrypt/live/www.gfkui.cn/privkey.pem
   Your cert will expire on 2018-06-19. To obtain a new or tweaked
   version of this certificate in the future, simply run certbot again
   with the "certonly" option. To non-interactively renew *all* of
   your certificates, run "certbot renew"
 - If you like Certbot, please consider supporting our work by:

   Donating to ISRG / Let's Encrypt:   https://letsencrypt.org/donate
   Donating to EFF:                    https://eff.org/donate-le
最后运行certbot的自动续证书的工具
sudo certbot renew --dry-run
总结
感谢certbot的脚本工具,使得SSL证书的配置超级简洁,Nginx服务器的配置也如上所述,全部进行傻瓜式配置,自动将http服务器的配置文件整理好。